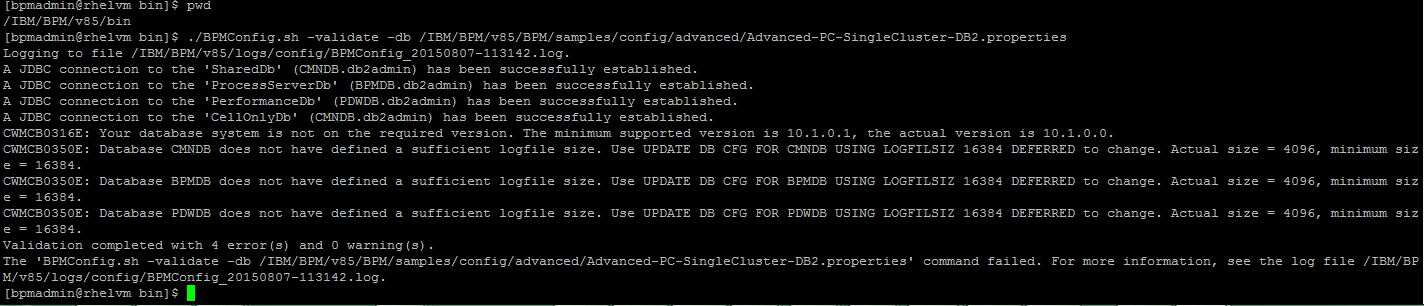
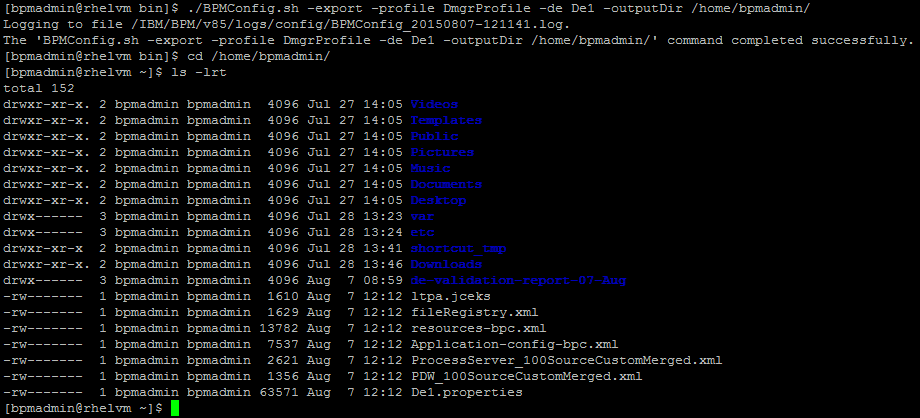
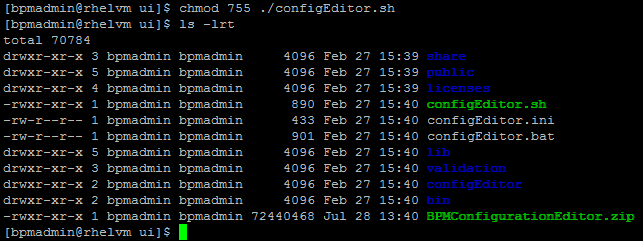
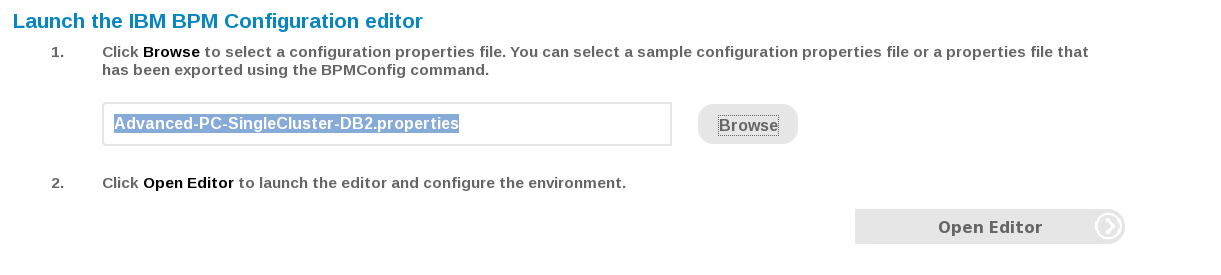
- Choose the RHEL ISO image file,
- Create new user name 'bpmadmin' which will be used to install IBM BPM

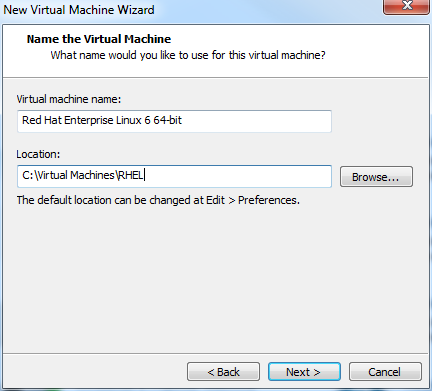
- Provide appropriate name for Virtual Machine
- Also choose the location to keep the virtual machine files
- Choose radio button to store virtual disk as a single file

You have the option to customize hardware, increase RAM, Disk Size as required
make sure you've selected check box, power on this virtual machine after creation
Ignore the warning 'Unsupported Hardware Detected', and proceed with 'OK'
Press space bar to accept this warning
RHEL is getting installed
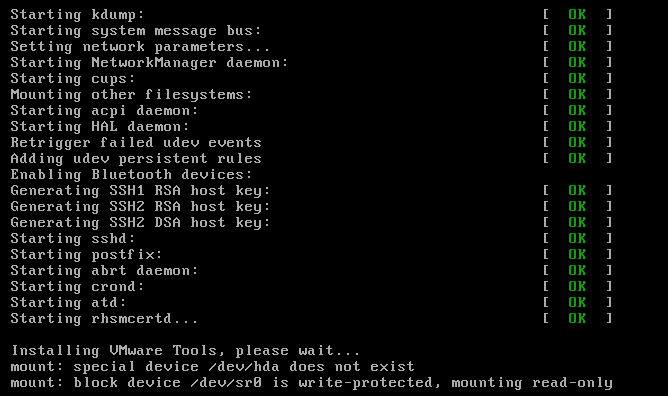
OS is getting started post installation
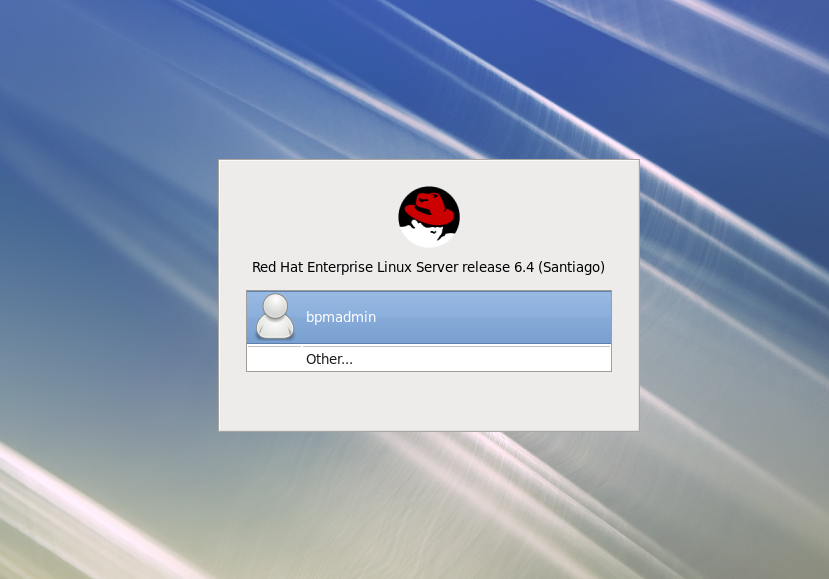
RHEL installed and you've been prompted to login
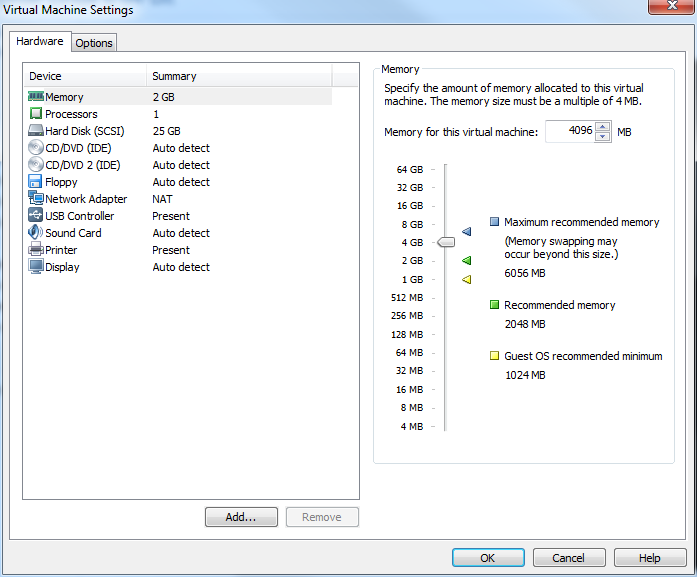
By default the RAM allocated for virtual machine is 2GB, which will not be sufficient to run IBM BPM, hence I've increased the RAM size from 2GB to 4GB
Shut down the RHEL to increase the memory allocation from 2 GB to 4 GB
Edit virtual machine settings to increase the RAM size to 4 GB
Identify the IP Address of virtual machine and update the hostname
Note: Make sure that you change the host name as required prior to installing BPM, changing host name post BPM installation is not advisable hence it's not straight forward
Power on the virtual machine
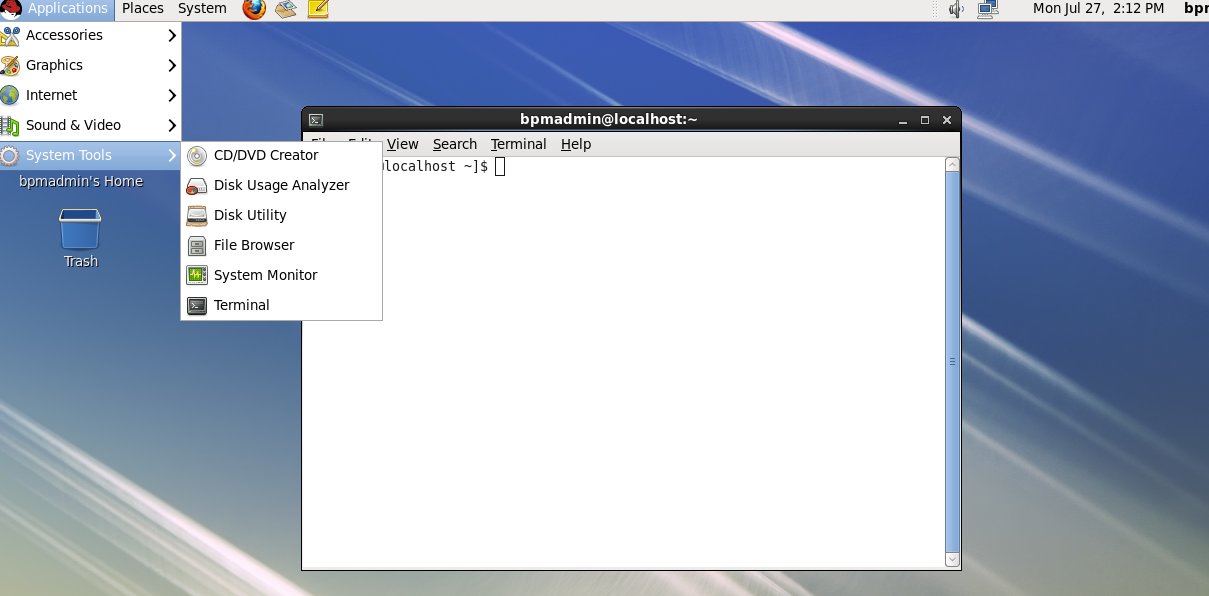
Login and navigate to menu
Applications > System Tools > Terminal
In terminal window type command 'ifconfig' to identify the IP address of RHEL virtual machine
Login via putty
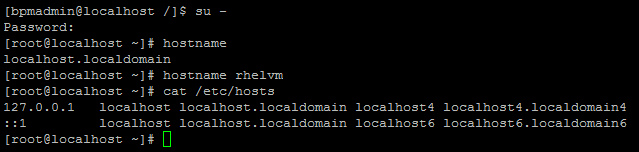
'su' as root
update the host name as 'rhelvm'
Update the hosts file (/etc/hosts) to include hostname as 'rhelvm'
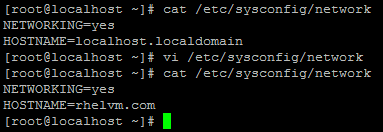
Update the network file to include the 'hostname'
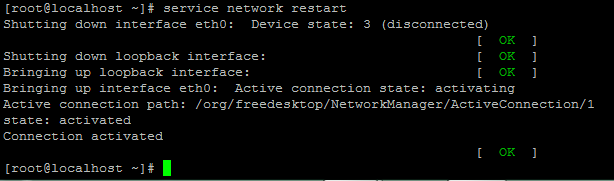
Restart the network
Logoff and login
Make sure the host name is shown as 'rhelvm' after logging in
Update the hosts file in windows
On windows 7 'hosts' file is write protected, file can be edited by launching notepad as administrative user
To launch notepad as admin user
On windows explorer, go to location 'C: \Windows\System32' and search for notepad.exe
Right click on 'notpead.exe' and choose option 'Run as administrator'
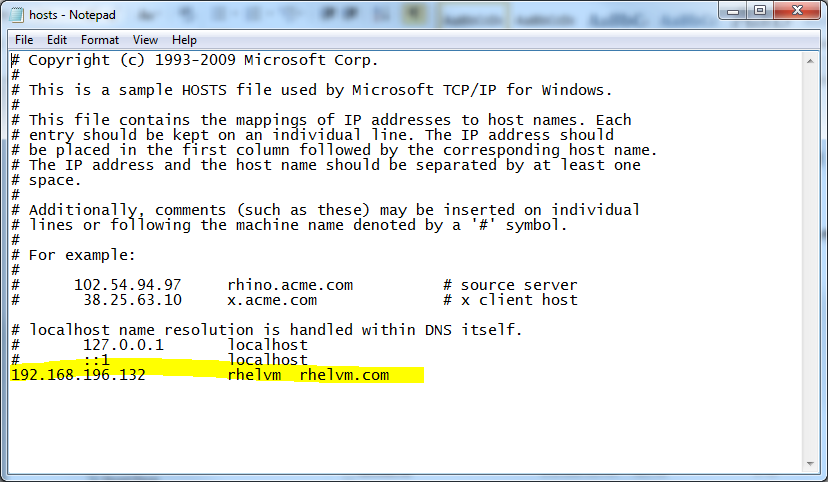
Once notepad is open, navigate to directory 'C: \Windows\System32\drivers\etc' and open file 'hosts' to include entry as highlighted below
Tip:
Directory location ''C: \Windows\System32\drivers 'can be opened at explorer directly by entering drivers in Run window
Make sure that 'rhelvm' hosts is reachable from local machine by pinging from command window as shown below
Preparing for IBM BPM installation
download the following eAssembly for IBM BPM
Downloadable parts for Linux on x86
Required software
eAssembly
|
Image
|
Description
|
CRVC5ML
|
CN4RXML
|
IBM Business Process Manager Advanced V8.5.6 Quick Start Guide
|
CN4S5ML
CN4S6ML
CN4S7ML
|
IBM Business Process Manager Advanced V8.5.6 for Linux x86, 64-bit, Multilingual
Make sure that you download all of the images and extract them to the same location.
Includes:
IBM Business Process Manager Advanced Version 8.5.6
IBM WebSphere Application Server Network Deployment V8.5.5 Fix Pack 5
DB2 Express V10.1.0 Fix Pack 1
|
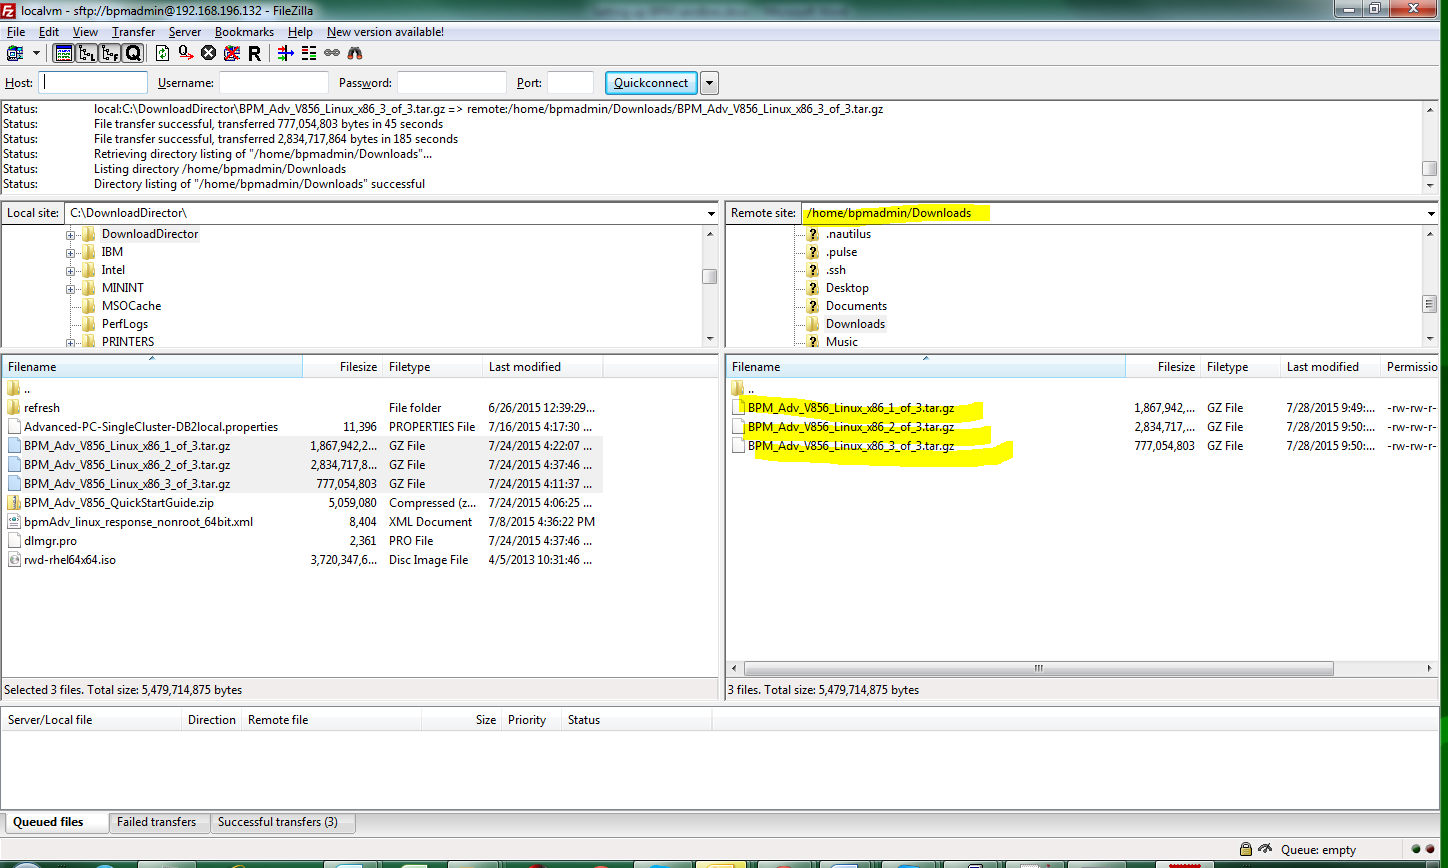
Transfer the downloaded files to '/home/bpmadmin/Downloads'
Here I've used FileZilla to transfer the files from local machine to VM host
Create new directory bpm856 and unzip files in it
Mount the RHEL ISO image
We might require to install additional libraries while validating the pre-requisites for IBM BPM installation,
you can mount the ISO image of RHEL as repository to install those libraries as needed
how to mount ISO image, follows the steps below
Copy the red hat ISO image to '/home/bpmadmin/Downloads'
Su as root and Create new directory '/mnt/disk'
Change directory to '/home/bpmadmin/Downloads'
Mount the ISO image as loopback device as shown below
'mount -o loop ./rwd-rhel64x64.iso /mnt/disk'
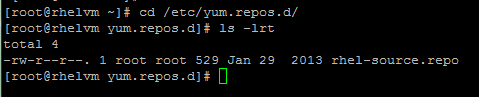
Modify the 'rhel-source.repo' to include entry for mounted ISO image
rhel –source.repo file located in /etc/yum.repos.d
Include the following entry
[RHEL-CD]
name=RHEL 6.4
baseurl=file:///mnt/disk/Server
enabled=1
gpgcheck=0
enter command 'yum clean all' to refresh the cache

Preparing Linux systems for installation (WebSphere Application Server Network Deployment 8.5.5)
Validate and verify the pre-requisites as shown below
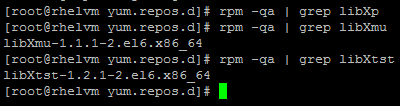
Check the existence of following 3 packages
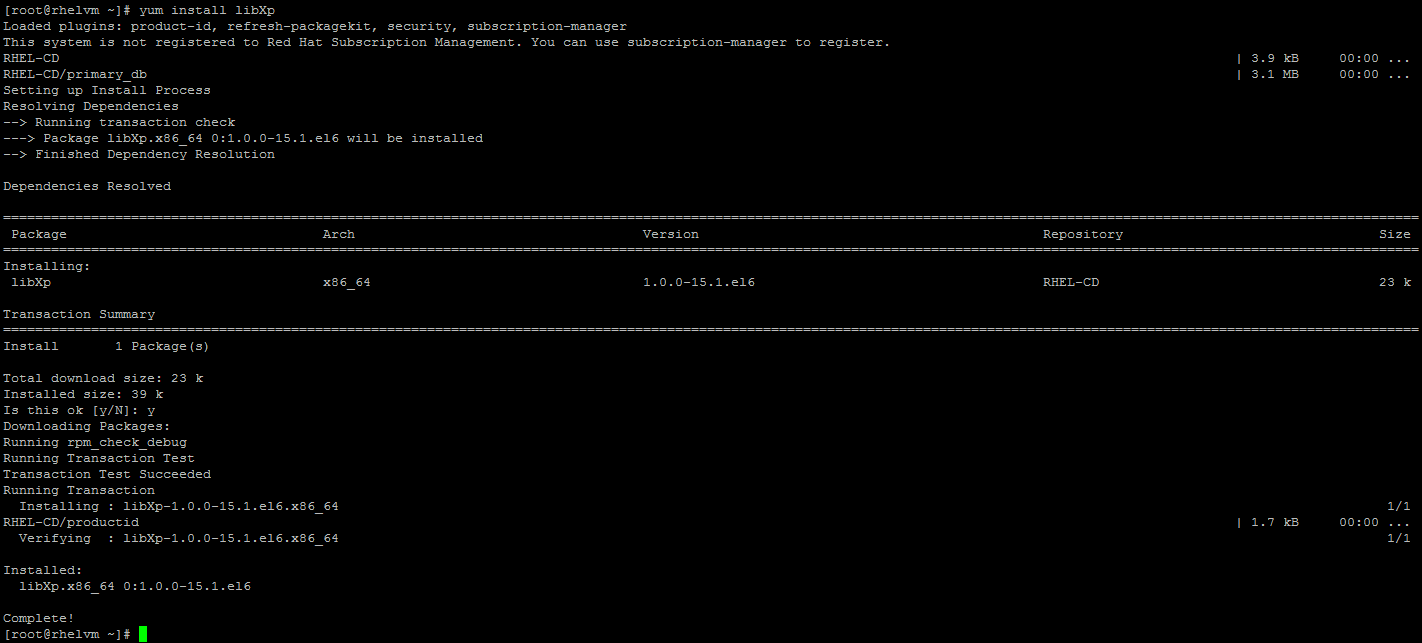
Install the missing package 'libXp' using yum install
Ensure that the default shell for your Linux operating system is /bin/bash. Use the following command to ensure that your default shell is bash and not dash:
Check Firefox installed or not
Verify the UMASK value (should be 022)
Set the ulimit on your Linux command shells by adding the command to your shell profile script. The shell profile script is usually found under your home directory:
cd ~
vi .bashrc
ulimit -n 8192
Preparing Red Hat Enterprise Linux 6 for installation
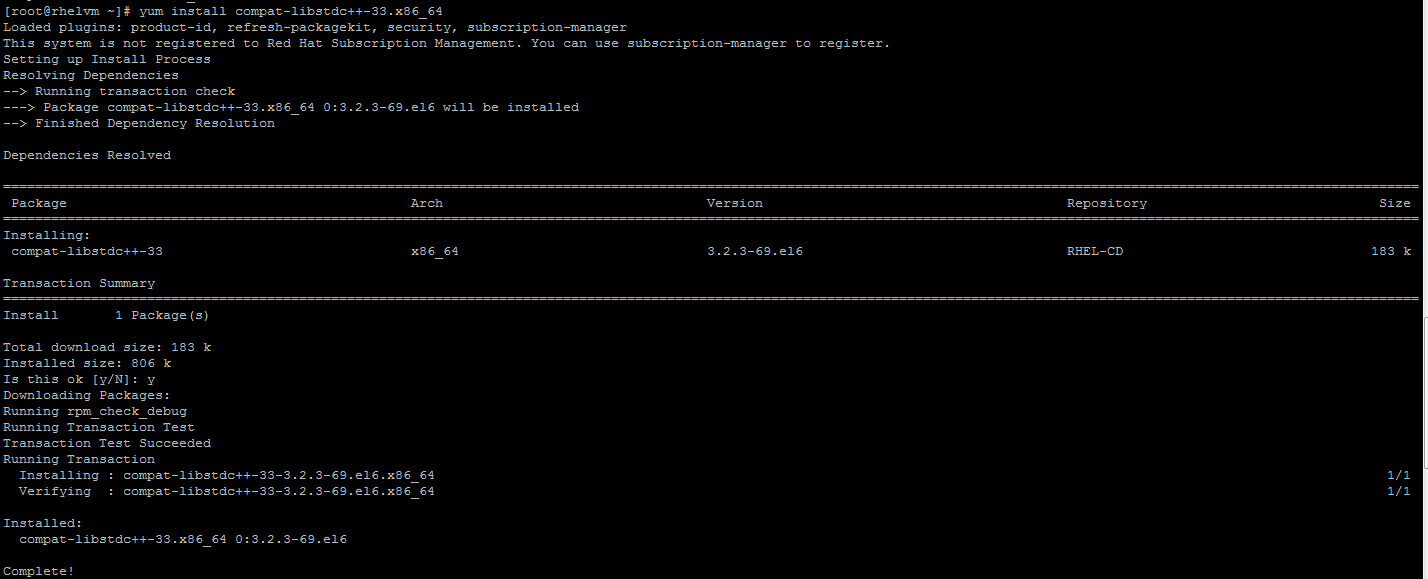
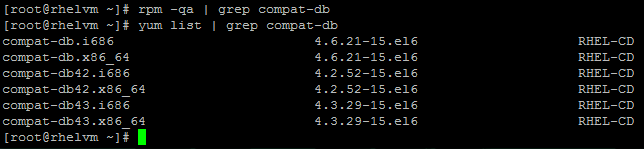
Check the existence of following packages and install them if not installed already
compat-libstdc++-33-3.2.3-69
compat-db-4.6.21-15
ksh-20100621-2
Disable SELINUX
Édit file '/etc/sysconfig/selinux' to change the value for SELINUX=disabled
Reboot the server for the SELINUX change to take effect
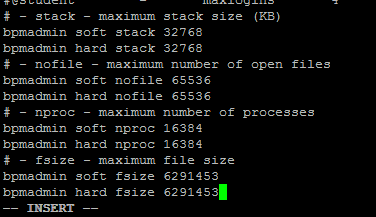
Modify the '/etc/security/limits.conf' to increase the limit
# - stack - maximum stack size (KB)
bpmadmin soft stack 32768
bpmadmin hard stack 32768
# - nofile - maximum number of open files
bpmadmin soft nofile 65536
bpmadmin hard nofile 65536
# - nproc - maximum number of processes
bpmadmin soft nproc 16384
bpmadmin hard nproc 16384
# - fsize - maximum file size
bpmadmin soft fsize 6291453
bpmadmin hard fsize 6291453
|
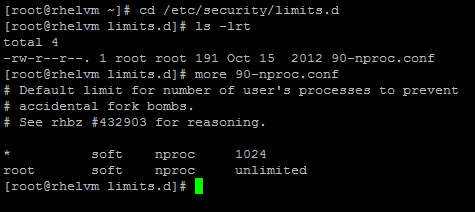
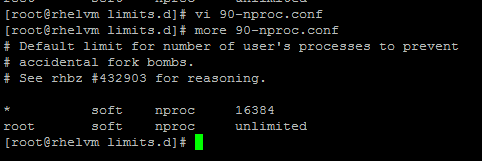
Check for the existence of a file named /etc/security/limits.d/90-nproc.conf, which overrides the nprocvalue set in the limits.conf file. If the 90-nproc.conf file exists, edit it and set the nproc values that are specified in the previous step.
Modify the value against * to 16384
Check the existence of package rpm-build and install
Set the umask value to 077 using the following command:
Install BPM silently using a response file
BPM can be installed no of ways,
- using imcl command line
- using response file
- using GUI
Here I've detailed the BPM installation using response file,
response files are located in the following directory where files are extracted
/home/bpmadmin/Downloads/bpm856/responsefiles/BPM'
bpm will be installed under non root user account, 'bpmadmin', choose response file 'bpmAdv_linux_response_nonroot_64bit.xml' and modify the file as follows
response file requires 3 details
- location of repository
- location where the IBM BPM component will be installed
- list of features will be installed
**highlighted below is the location of repository for IBM Installation Manager and repository for BPM installation
<server>
<!-- ==================== IBM Installation Repository Location =====================-->
<repository location='/IBM/bpm856/IM64/' temporary='true'/>
<!-- ======= IBM Business Process Manager Advanced, WebSphere Application Server ND =======-->
<repository location="/IBM/bpm856/repository/repos_64bit/" />
</server>
**highlighted below is the location where IM eclipse will be installed
<profile kind='self' installLocation='/IBM/InstallationManager/eclipse' id='IBM Installation Manager'>
<data key='eclipseLocation' value='/IBM/InstallationManager/eclipse'/>
</profile>
**highlighted below is the directory location where shared cache will be located
<preference value="/IBM/IMShared" name="com.ibm.cic.common.core.preferences.eclipseCache" />
**highlighted below is the feature denotes the Installation Manager
<install>
<offering features='agent_core,agent_jre' id='com.ibm.cic.agent'/>
</install>
**highlighted below is the install location where IBM BPM will be installed
<profile installLocation='/IBM/BPM/v85' id='IBM WebSphere Application Server Network Deployment V8.5'>
<data key='eclipseLocation' value='/IBM/BPM/v85' />
<data key="cic.selector.nl" value="en" />
<data key='user.import.profile' value='false'/>
<data key='user.select.64bit.image,com.ibm.websphere.ND.v85' value='true'/>
</profile>
**highlighted below is the list of BPM features that will be installed
<install>
<offering profile="IBM WebSphere Application Server Network Deployment V8.5" id="com.ibm.websphere.ND.v85" features='core.feature,ejbdeploy,thinclient,embeddablecontainer,samples,com.ibm.sdk.6_64bit'/>
<offering profile="IBM WebSphere Application Server Network Deployment V8.5" id="com.ibm.websphere.IBMJAVA.v70" features='com.ibm.sdk.7'/>
<offering profile="IBM WebSphere Application Server Network Deployment V8.5" id="com.ibm.bpm.ADV.v85" features='AdvancedProcessCenter'/>
</install>
Save the file and install BPM using command 'userinstc'
'userinstc' command located in IM64 directory
./userinstc -acceptLicense input /IBM/bpm856/responsefiles/BPM/bpmAdv_linux_response_nonroot_64bit.xml -log /IBM/BPM/slient_install.log
screen shot shows the list of components installed sucessfuly
verify the log file 'silen_install.log' it should be empty
<?xml version='1.0' encoding='UTF-8'?>
<result/>
Installing DB2 as non-root user
BPM Package downloaded earlier has DB2 express installation packages which can't be installed as non-root user.
Here I've detailed the procedure to be followed to install DB2 as non-root user
download the DB2 enterprise edition, here I've used 'DB2 ESE 10.1'
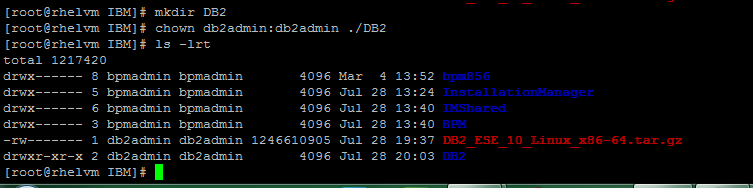
Create new user and group as follows
The pre-requisites to install IBM DB2 can be verified using the following commmand
make sure you mention the appropriate version name, else this command will generate the report for multiple DB2 version
Run the './db2prereqcheck –v 10.1.0.0'
Modifying kernel parameters (Linux)
Run the ipcs -l command to list the current kernel parameter settings.
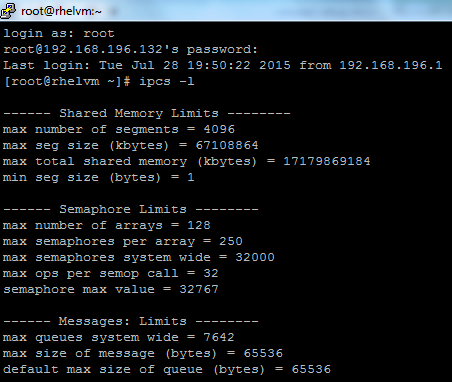
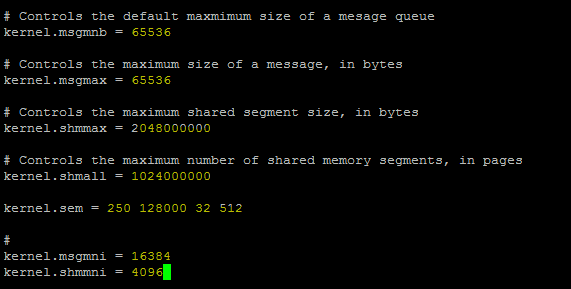
Modify the kernel parameters that you have to adjust by editing the /etc/sysctl.conf file
With reference to the page above following values are amended/added as highlighted in the screen shot below
Run sysctl with -p parameter to load in sysctl settings from the default file /etc/sysctl.conf:
Installing DB2 using response file as a non-root user db2admin
Edit the sample response file 'db2ese.rsp' located at /IBM/DB2/ese/db2/linuxamd64/samples
Modify the file permission so that it can be edited
Following sections were changed at response file
|
Earlier it was not commented out
|
|
Earlier the value of LIC_AGREEMENT kept as DECLINE
|
|
Earlier it was not commented out
|
|
Save the response file
Run the db2setup command with input as response file as shown below
db2setup command is in /IBM/DB2/ese directory
./db2setup -r /IBM/DB2/ese/db2/linuxamd64/samples/db2ese.rsp -l /tmp/db2setup.log -t /tmp/db2setup.trc
Installation failed with following comments
Edit the response file
|
Earlier it was not commented out
|
|
Earlier it was commented out
|
|
Earlier it was not commented out
|
|
Install again
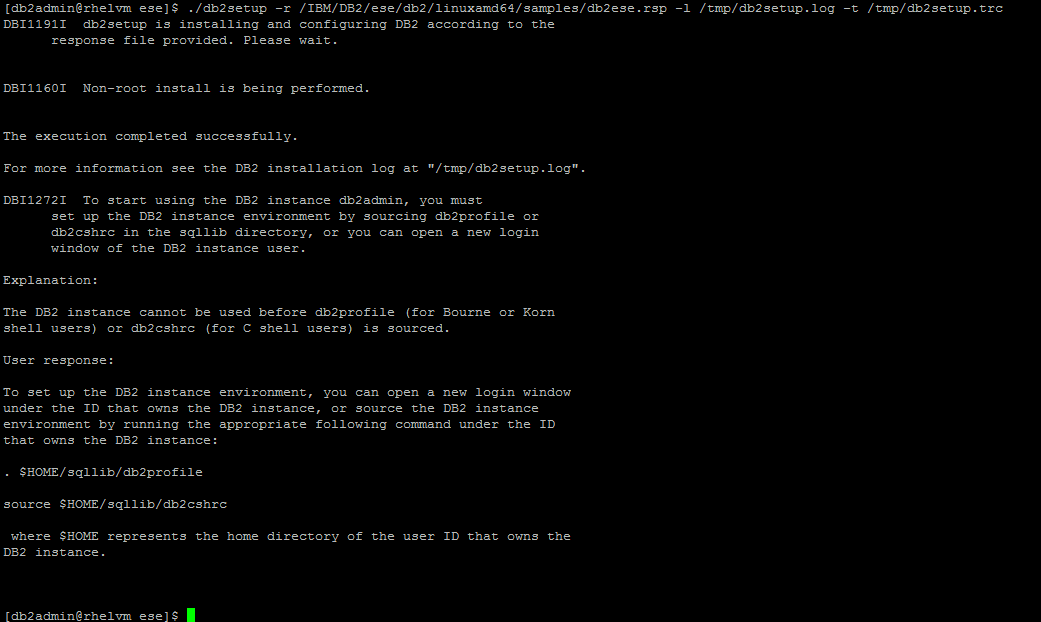
Installation successful
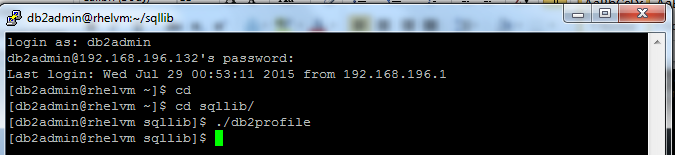
As mentioned above run the 'db2profile' command as shown below
Followed by setup service name
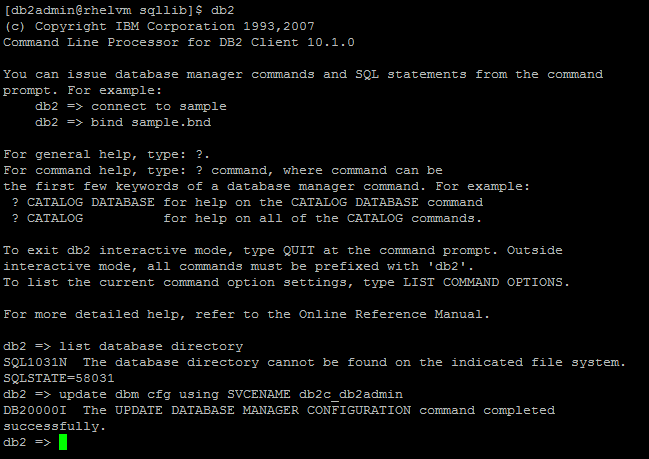
update dbm cfg using SVCENAME db2c_db2admin
after that login as root and update /etc/services to include
db2service name as 'db2c_db2admin', corresponding protocol as 'tcp' and port as '50000'
Enabling root-based features in non-root installations with db2rfe
There are several features and abilities in non-root installations that are initially unavailable but can be enabled by running the db2rfe command.
db2rfe.config was located in /home/db2admin/sqllib/instance
edit the file to enable OS authentication
Make sure the instance is stopped
Run the db2rfe command with input file as db2rfe.cfg
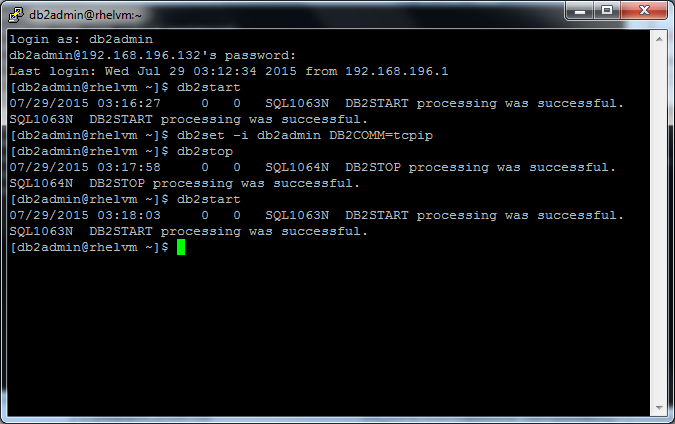
Enable TCPIP communication as shown below